
Fair hairstyle comparison method
How to Compare Hairstyles on Your Face: Hold Everything Else Constant
A fair hairstyle comparison holds the portrait constant and changes one major hair variable at a time. This method separates silhouette, face framing, texture, and color into questions you can actually answer — instead of a quick emotional reaction to a flattering image.
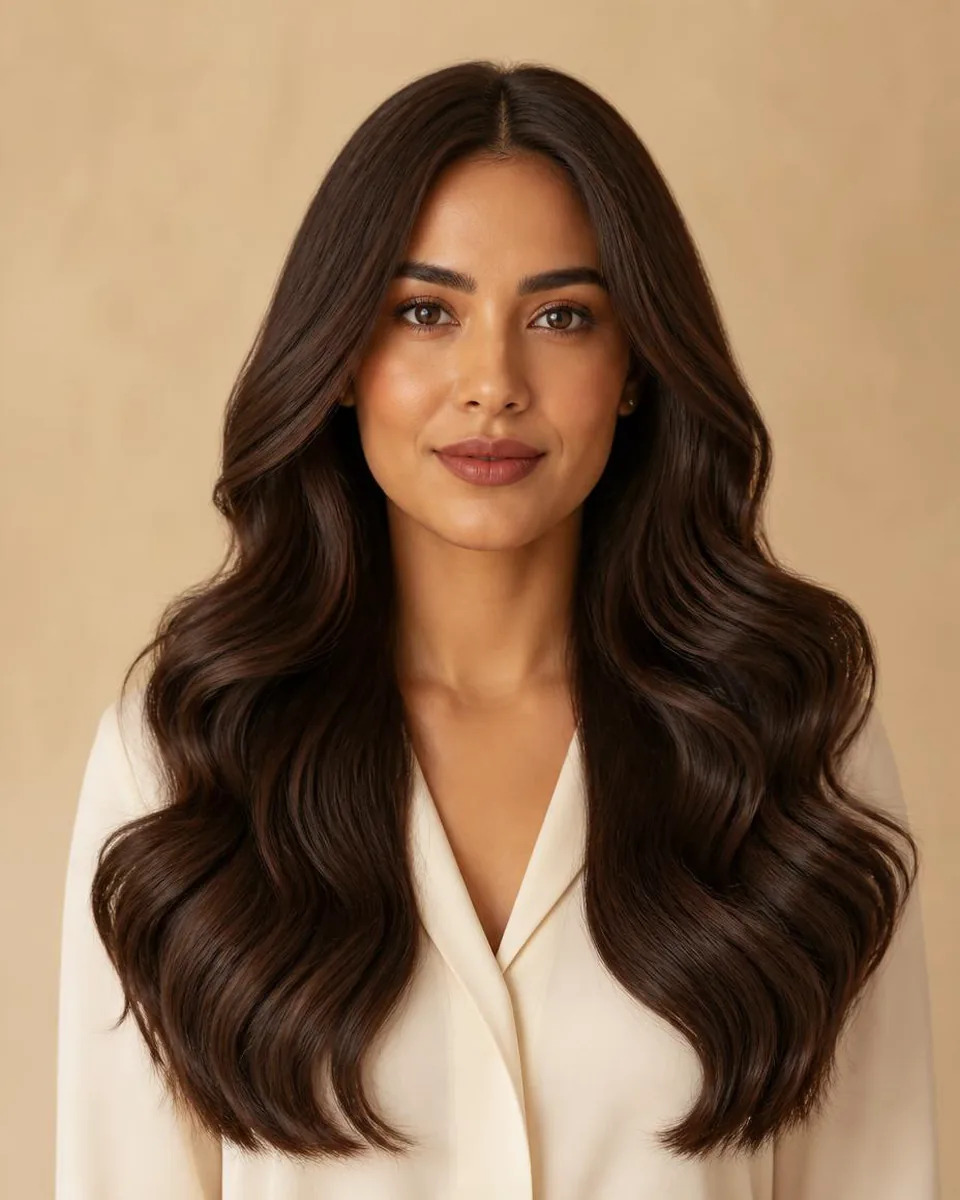
Hairstyle comparisonVirtual try-onFace framingHairstyle selection
3 min read
Quick answer
One selfie, distinct contrasts, one review order
Start with one clear, unfiltered portrait and generate two to four meaningfully different looks — not a gallery of minor variations. Review every output in the same order: overall silhouette, face framing and volume, then texture and color. Reject any result that changes your facial features, skin tone, expression, or background, and keep only the directions you can explain in one sentence.
- Set size
- Two to four distinct looks
- Constant
- Same selfie, light, and crop
- Review order
- Silhouette → framing → texture → color
- Deal-breaker
- A result that changes your face
The goal of a hairstyle comparison is not to find the prettiest image. It is to explain why one direction works. That requires control: hold the portrait constant, change one major hair variable at a time, and apply the same criteria to every candidate. To run that comparison in one place, WigTryAI's virtual hairstyle try-on keeps a single selfie fixed while you generate each candidate and judge it in the same order.
Step 1: Create a Controlled Source Image
One portrait removes most of the noise from the comparison. If the angle or lighting changes between looks, you may be preferring the photograph rather than the hairstyle.
- Use a direct camera angle. Center your face, keep both eyes visible, and leave the hairline and shoulders unobstructed. A neutral expression makes the face frame easier to compare.
- Keep lighting and crop stable. Use soft, even light and enough space around the head. Never compare a close crop with a distant image, or a shadowed portrait with a bright one.
- Avoid filtered baselines. Beauty filters reshape features, smooth boundaries, and shift color. Start from an unfiltered image so preservation errors stay visible.
Step 2: Choose Contrasts That Answer Real Questions
A good comparison set is small and purposeful. Each look should test a different possibility:
- Short versus long. Compare a bob or pixie with a medium or long direction to see how exposed neck, shoulder line, and vertical length affect the frame.
- Straight versus wavy or curly. Texture changes the location and scale of volume. Review whether movement supports the face or adds weight where you wanted less.
- Clean frame versus front detail. Compare a simple part with bangs or face-framing layers to test how much activity you want around the forehead, cheeks, and jaw.
Step 3: Reject Unreliable Generated Results
Do not let image polish hide an editing failure. Every candidate should follow the requested direction and preserve the person and scene well enough to compare:
- Check the request. Confirm length, texture, part, fringe, and color family. A beautiful output that ignores the request cannot answer the comparison question.
- Check identity preservation. Compare eyes, brows, jaw, skin tone, expression, glasses, ears, and clothing with the source. Remove results that alter these features noticeably.
- Check edges and geometry. Inspect the hairline, flyaways, ears, shoulders, and background lines. Halos, duplicated strands, or melted boundaries signal an unstable edit.
Step 4: Score Every Look in the Same Order
A repeatable sequence keeps dramatic color or texture from overwhelming more important questions:
- Silhouette and scale. Review crown height, outer width, visible neck, end position, and the line against your shoulders. Ask whether the outline feels balanced.
- Face framing and volume. Look at the forehead opening, cheek zone, jaw, and side volume. Note exactly where a part, bang, layer, curl, or wave changes the frame.
- Texture, color, and mood. Only after the shape works, compare softness, definition, shine, depth, warmth, and contrast. These details affect mood but should not rescue an unsuitable outline.
Step 5: Make the Final Comparison Practical
- Write a one-sentence reason. "The side part opens the forehead" or "the shoulder length reduces weight at the cheeks" survives beyond the excitement of a new image.
- Ask focused feedback questions. Instead of "which is best," ask whether one length balances the shoulders or whether the front pieces feel crowded.
- Confirm real-world feasibility. Discuss density, texture, condition, maintenance, and technical process. A portrait cannot resolve those physical constraints.
If your finalists are for a social post, you can turn the shortlist into a TikTok transformation video after the comparison is complete. The companion workflow covers reveal structure and how to check the generated clip without sacrificing identity.
If the finalists are curly or wavy, preview them before the cut — shrinkage and length loss are the two things a static preview cannot show.
Run the method in one session
Upload a single portrait, compare distinct directions side by side, reject anything that changes your face, and keep the two finalists you can explain.
Compare hairstylesFAQ
How many hairstyles should I compare on my face?
Start with two to four distinct directions. A small set makes it easier to identify the effect of length, volume, parting, texture, or color.
Why should every preview use the same selfie?
It keeps angle, expression, lighting, crop, and camera distance stable, so visible differences are more likely to come from the hairstyle direction itself.
What should I compare first?
Start with silhouette and length, then face framing and volume. Review texture and color only after the broad shape works.
What should I do with a preview that changes my face?
Exclude it and regenerate the look. A result that changes identity, skin tone, expression, or surrounding objects is not a reliable hairstyle comparison.
Can friends or a stylist help me choose?
Yes. Share one or two finalists and explain what you are comparing. A stylist can add information about condition, density, texture, process, and maintenance.