
Online hairstyle try-on flow
How to Try Hairstyles Online: The Complete Flow
Trying hairstyles online only works when you decide what you are testing first. Name the question, build a shortlist of three or four clearly different directions, run every preview on the same portrait, compare in a fixed order, and finish with a one-paragraph brief you can hand to a stylist.
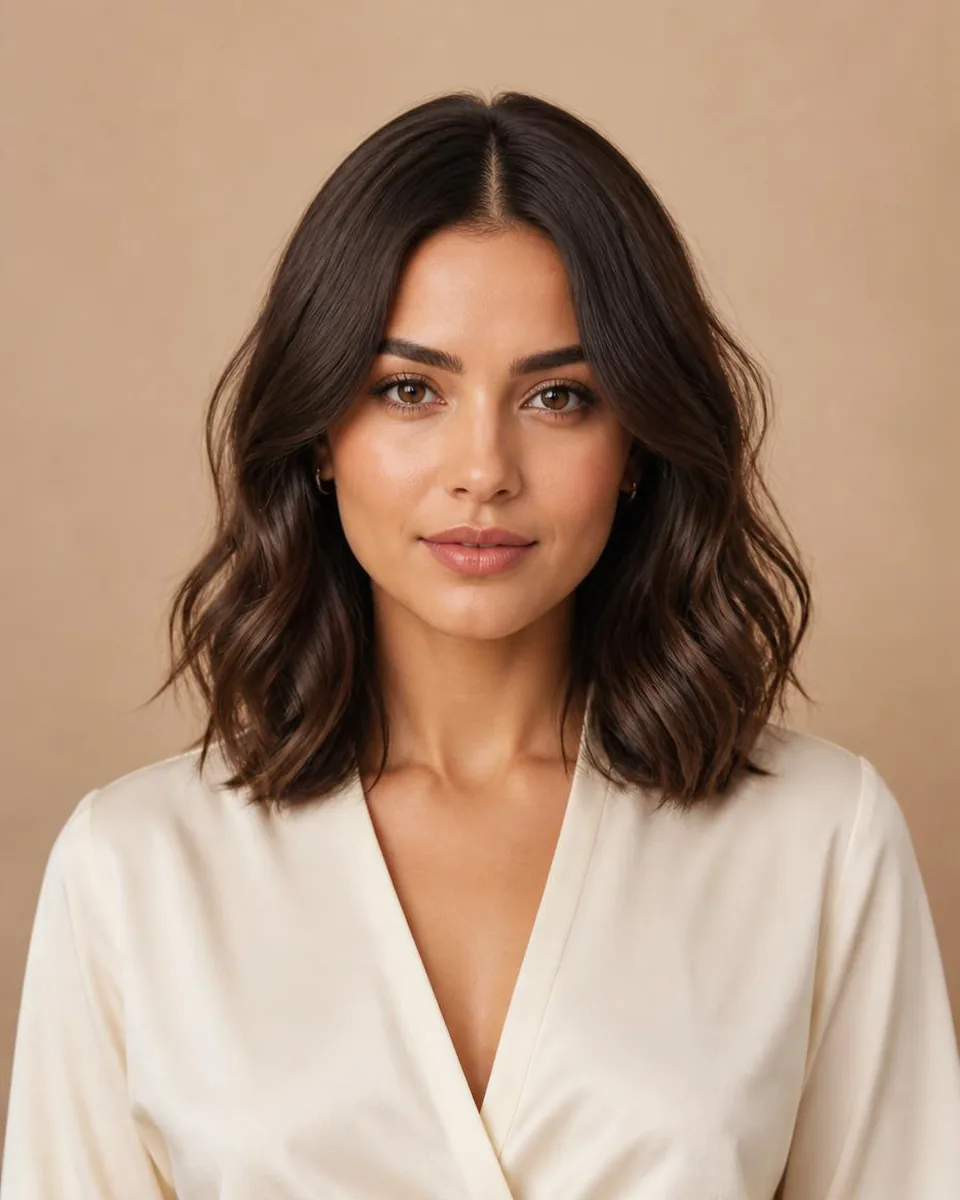
Hairstyle workflowPreview stepsResult reviewHairstyle comparison
4 min read
Quick answer
One question, three contrasts, one fixed review order
Try hairstyles online by naming the question you are answering (shape, length, or color), building a shortlist of three or four clearly different directions, generating every preview from the same front-facing portrait, reviewing each result for instruction-following and facial preservation, and comparing in a fixed order — silhouette first, face framing second, texture and color last. Finish by writing a one-paragraph brief: the length, part, front pieces, texture, and color family you want, plus the reference image you liked most.
- Step 1
- Name the question
- Step 2
- Three or four contrasts
- Step 3
- One portrait for every preview
- Step 4
- Silhouette → framing → texture/color
- Step 5
- Write the stylist brief
The flow is short, but skipping a step is what makes people open five tabs, generate twenty images, and still feel unsure. To run it on your own selfie, start with WigTryAI's virtual hairstyle try-on — it previews every direction on the same portrait, so the only variable is the hairstyle.
Step 1: Name the Question You Are Actually Answering
Most people start generating before they know what they are testing. Decide which of these three questions you are answering, because each one has a different answer source:
- A shape question. "Would a bob suit my face better than my current length?" This is about outline, visible neck, and where the ends stop. A preview answers it well.
- A length question. "Should I go shorter by 4 inches or by 10?" This is about scale and proportion against your shoulders, not about the style name.
- A color question. "Would a warmer brown or a lighter blonde hold up with my skin tone?" A preview gives a visual direction here; it cannot predict dye chemistry, processing damage, or how the color fades.
If you cannot write your question in one sentence, you are not ready to generate. Write it down, then keep it visible while you compare — it is the filter that stops a session from drifting.
Step 2: Build a Shortlist From What People Actually Try
Clear differences teach you more than a long sequence of near-identical variations. Build three or four directions, not twelve.
WigTryAI's own data is a useful starting point. In an analysis of 10,000 completed hairstyle generation events, Body Wave was the single most tried style at 8.8%, waves and bobs together accounted for 45.2% of all events, and 17.6% of events included some form of bangs. The full statistics page breaks the numbers down by family, length, color, and fringe.
That does not mean you should copy the crowd. It means the popular directions are the ones with the most styling guidance, the most reference photos, and the fewest surprises when you sit in the chair. A practical first shortlist looks like this:
- Short vs long. A pixie or bob beside a shoulder-length or long look reveals how vertical length and visible neck change your proportions.
- Straight vs textured. Straight, wavy, and curly directions distribute volume differently. Review where the widest area falls rather than trusting the style name.
- One familiar color. Hold color steady while you compare shape, then test color families after you have one or two silhouettes you like.
Step 3: Run the Preview on One Photo
Every preview has to come from the same source image, or you are comparing lighting and angles instead of hairstyles. The virtual hairstyle try-on page covers the photo setup and the generation flow step by step — use that page for the mechanics and keep this guide for the decision.
Two rules carry over from any preview tool:
- Reject results that change your face. Your features, skin tone, expression, clothing, and background should stay recognizable. A pretty image that answers a different request is not a data point.
- Regenerate instead of arguing with an unstable result. Generation varies between attempts; a second result tells you whether the direction is consistent or the first image was a fluke.
Step 4: Compare Results in a Fixed Order
Comparison is where the decision actually happens. Use the same order every time so a dramatic color does not outshine an unsuitable outline:
- Silhouette and length. Look at the outer outline, visible neck, crown balance, and where the ends stop. Ask whether the scale feels natural with your face and shoulders.
- Face framing and volume. Review the forehead opening, cheek area, jaw line, and side volume. Do the front pieces open the face or crowd the center?
- Texture and color. Only after the shape works, compare curl scale, wave definition, highlights, warmth, and depth.
Write one sentence about your favorite as you go. "The side part opens the forehead" or "shoulder length reduces weight at the cheeks" survives longer than the excitement of a new image — and it is the sentence you will repeat to a stylist.
Step 5: Leave With a Stylist Brief
A preview is only useful if it survives the trip to the salon. Turn your winner into a short brief:
- Length: the name and the endpoint ("collarbone lob", "chin-length blunt bob").
- Part and front pieces: center, side, curtain, wispy, or grown-out fringe.
- Texture: the wave or curl scale you liked, not just "wavy".
- Color family: brown, black, blonde, or red family, plus how much contrast you want at the roots.
- Reference: your favorite preview image, plus one photo of the style on someone else.
- What you do not want: the detail you rejected, such as a heavy fringe or too much volume at the jaw.
Then ask about the parts a preview cannot see: density, growth pattern, shrinkage, processing damage, and how many minutes the style takes on a normal morning. That conversation is the real value of previewing — you arrive with a decision instead of a folder of screenshots. For what that appointment conversation covers and how to prepare for it, see what to expect at a hair consultation.
Run the flow now
One question, three or four contrasts, fixed review order — and a brief you can bring to a stylist.
Open Virtual Hairstyle Try-OnCommon Mistakes That Waste a Session
- Changing two variables at once. If length, texture, and color all change between two previews, you cannot tell which one you reacted to.
- Using a different photo per style. Lighting, angle, and expression dominate the comparison before the hairstyle does.
- Judging on prettiness instead of accuracy. The question is whether the preview followed your request and kept your face, not whether it is flattering.
- Treating the preview as a guarantee. It is a visual reference. Density, growth pattern, and technique decide the real result.
- Generating past the shortlist. Ten near-identical images do not produce a better decision than three clear ones.
FAQ
What should I decide before I start trying hairstyles online?
Name the question first: shape, length, or color. Each one needs a different comparison and a different kind of evidence, and mixing them in one session is what makes the results feel confusing.
How many hairstyles should I compare at once?
Three or four clearly different directions. Compare length and silhouette first, then narrow the shortlist before testing similar colors or textures.
Should I change shape and color at the same time?
No. Keep the color steady while you compare shape, then hold the shape steady while you test color. One variable at a time is the only way to know what you are reacting to.
What should I bring to a stylist after previewing?
Your favorite preview image, one reference photo of the same style on another person, and a short brief covering length, part, front pieces, texture, and color family — plus the one detail you rejected.
Why does the same hairstyle look different on me than on the reference?
Because the reference shows someone else's face shape, hair density, growth pattern, and styling routine. Use it for direction, not for a guarantee, and confirm feasibility with a stylist.