
Layer placement guide
Best Layers for Your Face Shape: Choose the Shortest Piece First
Choose layers for your face shape by where the shortest front piece ends and where the hair becomes fullest. Then decide how much weight to retain at the bottom. Face-framing layers can change the front without requiring short layers everywhere; butterfly and shag names do not specify those lengths for you.
LayersFace framingButterfly cutShagHaircut decisions
5 min read
Quick answer
Separate the front edge from the weight inside the cut
The best layers for your face shape are the ones that place movement where you want it while retaining the length and density you need. Specify the shortest front piece, the area you want fuller and the bottom edge you want to keep. Long layers, short layers, butterfly cuts and shags can each produce different results depending on those choices.
- Visible decision
- Where the shortest piece lands when dry
- Cutting discussion
- How much perimeter and internal weight to retain
A face frame is the hair bordering the face. Layers elsewhere change the rest of the silhouette. They can be combined, but asking for one does not automatically require the other. This is why “keep the length, add layers” can still produce a very different haircut than you pictured.
Mark Three Places on the Reference
Before choosing a cut name, point to these three landmarks in a front view:
- The shortest front piece. Does it stop by the cheekbone, jaw or collarbone? Look at where it falls without a hand pulling it forward.
- The fullest part of the sides. Is the width near the temples, cheeks, jaw or shoulders? A styled outward bend can create this width even when the cut itself is subtle.
- The bottom edge. Does it look dense and nearly level, softly tapered or deliberately separated? Keeping the same longest strand does not mean keeping the same fullness at the perimeter.
In an educator's demonstration published by Associated Hair Professionals, Teresa Romero describes subtle internal face-framing layers that preserve a one-length appearance. The useful distinction for your consultation is that internal movement and a visibly short outer piece are not the same request. A reference photograph alone may not reveal which cutting technique created its finish.
Match the Placement to the Effect You Want
If you want movement to continue past the cheeks
For a round outline, compare front pieces that continue below the cheeks with shorter pieces that turn outward beside them. The first can create a longer visible path; the second adds emphasis at that level. Neither is forbidden. If you like cheek-level fullness, keep it deliberately instead of treating every face-framing layer as a slimming technique.
For a diamond outline, the same checkpoint helps you decide whether to highlight the cheekbones or move the next bend lower. Point to where the shortest piece stops rather than asking for “layers for wide cheekbones” without an endpoint.
If you want to change the line beside the jaw
With a square outline, a curved front piece passing the jaw can contrast with its corner. A blunt piece ending exactly there can emphasize it. Choose the relationship you like; do not assume all layers soften an angular line.
For a heart outline, movement near the lower face may be useful if you want a fuller jaw frame. A triangle or pear outline starts from the opposite forehead-to-jaw relationship: compare more upper-side emphasis and a quieter lower edge if that is your goal. The face labels do not change where the layer actually ends.
If you want less height or a shorter-looking vertical frame
For a long face, compare side movement with layers that create most of their lift at the crown. Shorter top layers can add height even when the front pieces look soft. If forehead coverage is the real question, bangs for your face shape may be the more relevant decision than adding layers throughout.
For an oval outline, choose the feature you want to emphasize: cheekbones, jaw or an open forehead. “Versatile” does not mean every layer placement creates the same result. A jaw-length front piece and a collarbone-length one remain different frames.
Translate Five Layer Names Into Requests
| Name on the reference | What to specify | Tradeoff to discuss |
|---|---|---|
| Face-framing layers | The shortest piece and its path into the longer sides | Whether the front still tucks or ties back |
| Long layers | The difference between the shortest layer and the longest layer, not only the overall hair length | Movement versus a thinner-looking perimeter |
| Short layers | Where the short sections sit and where you want visible fullness | Lift or expansion in an area you may have wanted quieter |
| Butterfly layers | The shorter front sections, longer back and outward shape you actually like | Whether the reference depends on a blowout and how much front length is lost |
| Shag layers | Crown length, fringe, side volume and the degree of separation at the ends | More visible shape through the top and sides, with a different outline when air-dried |
These names vary between stylists and references. Bring two front views and explain the shared feature you want instead of assuming a name fixes the cutting plan. You can ask for subtle front movement without wanting an all-over shag; you can keep long back length without keeping long front pieces.
Fine, Thick and Curly Hair Need Different Weight Discussions
Fine strands or a sparse-looking perimeter: ask what density remains at the ends after the proposed layers. A reference with short, full front pieces may draw hair away from the sides. More layers do not automatically create more visible fullness, especially if the bottom already looks light.
Dense or heavy hair: ask where weight will be removed and what stays to control the outline. Shortening sections can release movement or expansion, so “take weight out” is not a complete specification. A stylist needs to assess the actual hair rather than infer density from a generated portrait.
Wavy or curly hair: show the dry pattern you wear most often. The same front piece can sit at a different height when curled, stretched or straightened. Discuss the dry shortest length, the first visible bend and whether the cut needs to work in more than one finish.
Strong growth patterns: the shortest piece may not stay where a styled reference places it. If you tuck one side or change the part daily, demonstrate that at the consultation. The parting guide helps separate a direction change from a new layer length.
Preview an Outline, Then Describe the Cut
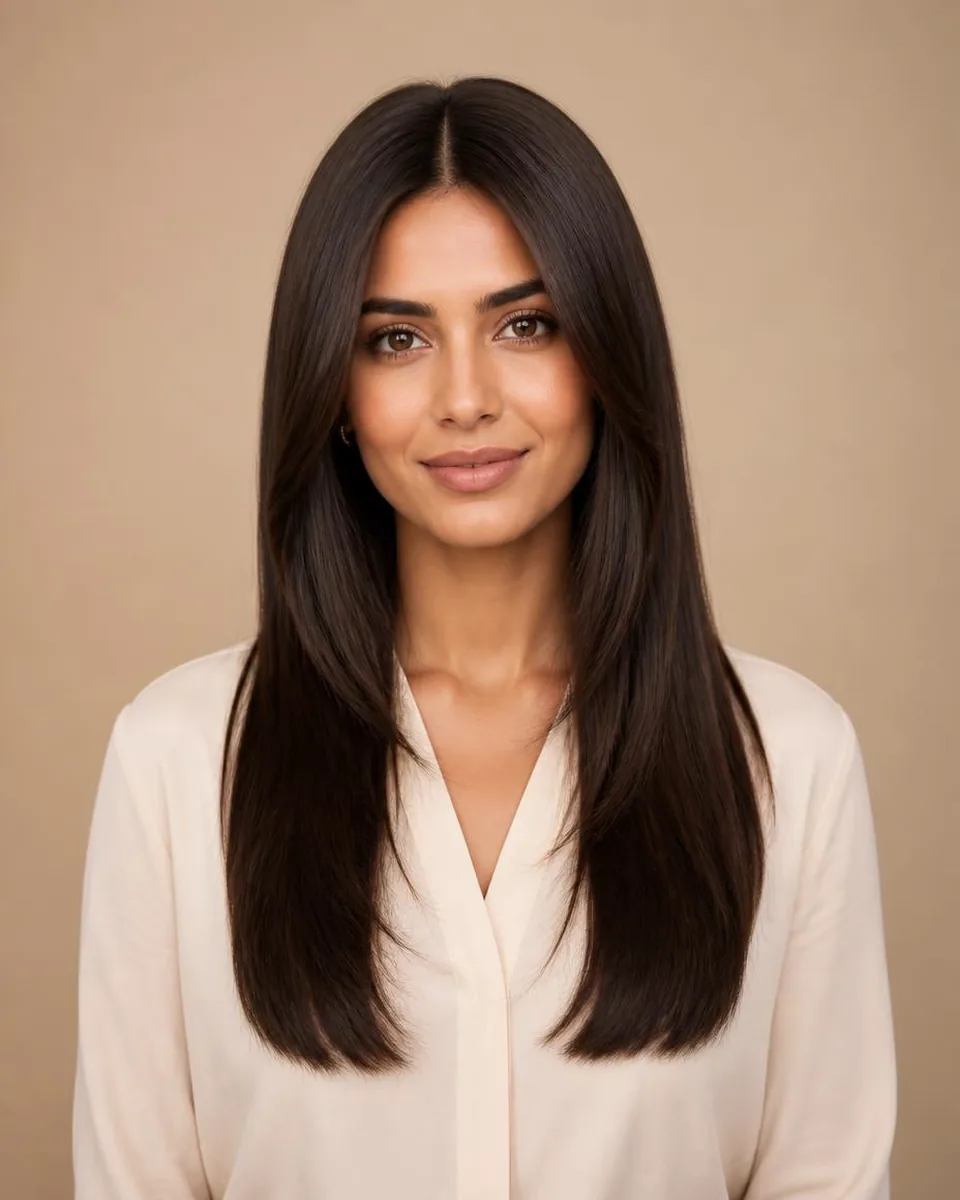
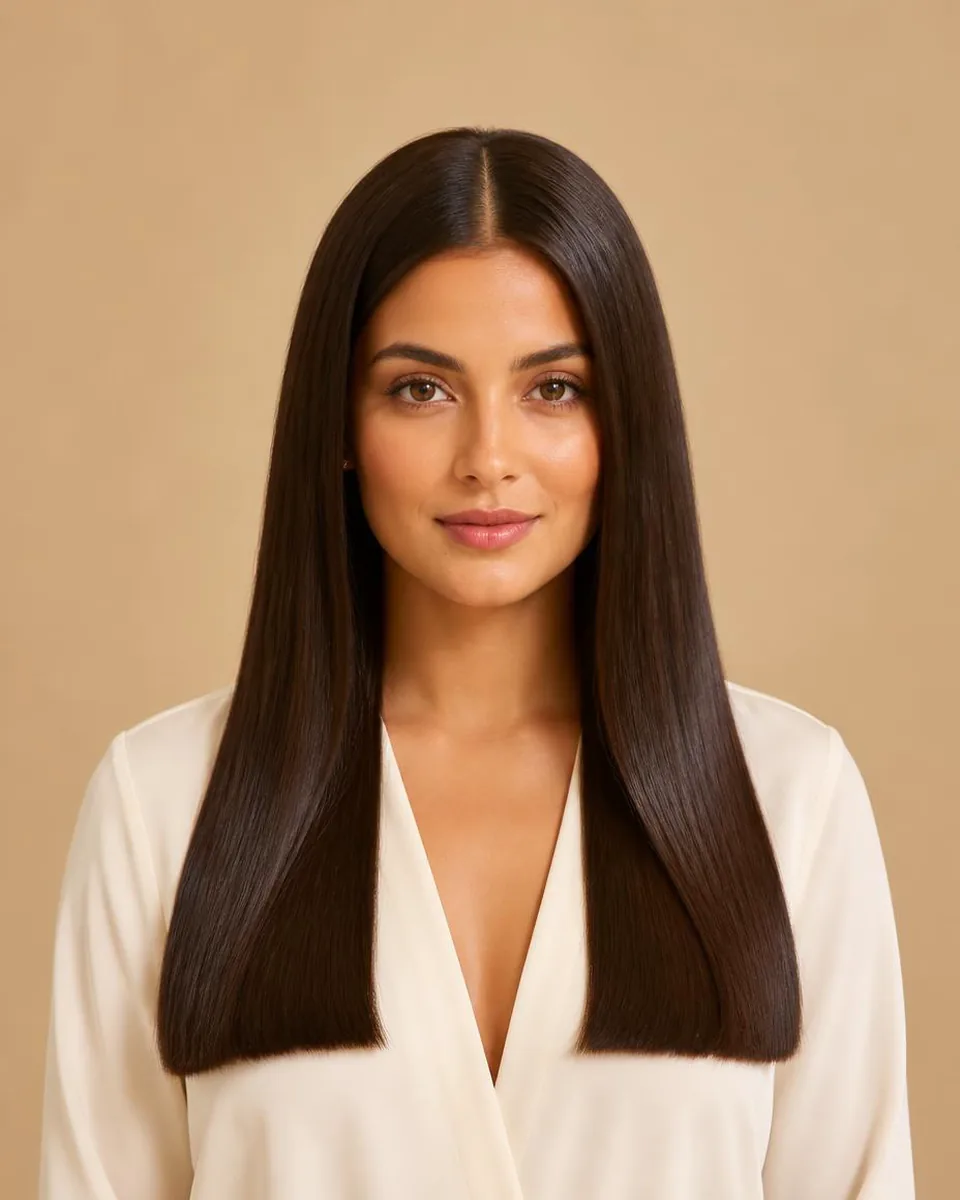
Two references for the perimeter conversation
These are hairstyle illustrations on different references, not a controlled cutting test. Reference-image try-on follows the pictured style and color together. Compare the front edge and the visible bottom fullness; do not infer actual density or technique.
More continuous long outline
Useful when keeping a substantial outer edge matters most. Check how little interruption you want around the front and how much of the jaw stays visible.
Try this look
Long hair with shorter front pieces
Useful when you want a different face frame without asking to shorten the whole back. Check the shortest visible piece and the transition into the longer sides.
Try this look
If you do not yet know which outline to start with, get AI hairstyle recommendations from one selfie. You receive four catalog directions with reasons and choose which looks to preview. The tool does not guarantee a butterfly cut, a shag or an exact layer length. For a specific chosen direction, use Virtual Hairstyle Try-On or a reference-image action above.
Write the salon brief as a sentence: “Keep the back below my shoulders and the bottom fairly full; compare front pieces ending at the jaw versus lower, with less crown height.” Include what must still tuck or tie. The hair length guide helps if you are also changing the perimeter.
A Generated Layer Is Not a Cutting Diagram
An image does not establish sectioning, cutting angles, real density or how much hair a stylist should remove. It also cannot predict shrinkage, regrowth or the finish after air-drying. Use previews to communicate visible goals, check that your face still resembles the input and ask the stylist to decide how to create an achievable version in your hair.
FAQ
What layers suit my face shape?
Start with the placement you want: a shortest piece near the cheekbones, jaw or collarbone, with fullness in a chosen area. Face shape can help name a comparison goal, but it cannot specify your density or cutting technique. Show the endpoint and the perimeter you want to retain.
Are face-framing layers the same as bangs?
Not necessarily. Face-framing layers can begin well below the eyes and continue into longer sides, while bangs usually create a distinct forehead edge. Longer curtain bangs can blend into front layers, so describe the shortest center piece and the outside transition rather than relying on either name.
Do more layers make fine hair look thicker?
Not always. Layers can create movement, but removing too much from the ends can make the bottom look lighter. Ask a stylist how much perimeter density will remain and whether a smaller front change would meet your goal without extensive all-over layering.
Are butterfly layers good for a round face?
They can be a useful direction, but the label alone does not tell you where the shortest sections or fullest bends sit. Compare front pieces passing the cheeks with ones that flare beside them, and decide which emphasis you want. Also ask how the cut looks without a styled blowout.
Can I keep my hair long and still get layers around my face?
Yes. A front frame can be shorter while the back perimeter stays long. Agree on both lengths and check which pieces remain long enough to tuck or tie back. Keeping the longest strand does not automatically preserve all the fullness at the bottom.
Can an AI preview tell my stylist exactly how to cut layers?
No. It shows a visible direction, not the sectioning, angles or amount of weight to remove. Bring the image as a reference and explain the shortest piece, desired side width and retained perimeter. Your stylist must assess the real texture and growth patterns.