
Quick Answer
Add a Link Beside One Hairstyle Photo
To add hairstyle try-on to your salon website, upload a reference hairstyle in WigTryAI, use Share to create a link, and paste that link into a button beneath the matching gallery photo. A client who opens it sees the selected reference and can upload their own photo for a preview. Your existing website editor and booking system can stay in place.
Your gallery probably already does the difficult work of showing what your team can create. A visitor sees a curly bob, saves it, and wonders whether the same shape would feel right around their own face. A small “See this hairstyle on you” link gives that question somewhere to go.
Start with one image. You are testing whether clients find a preview useful, so there is no need to rebuild every service page or turn the whole gallery into a software project.
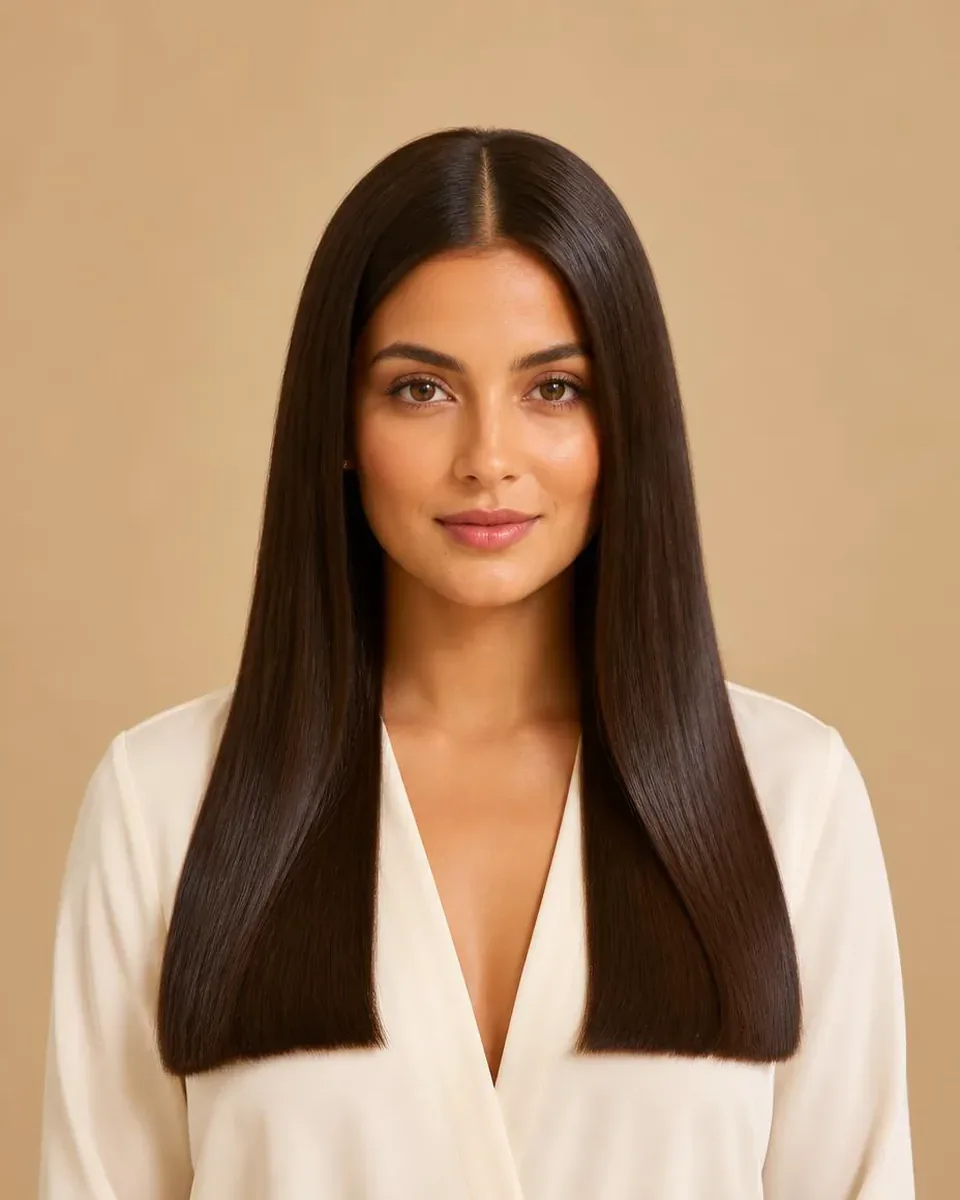
The opening salon photograph is an AI-generated illustration, not a customer case study.
What the Client Experience Looks Like
The client starts on your website, beside a photograph of a salon look. They tap the try-on link and move to WigTryAI in their browser. The reference hairstyle is already selected; they supply a clear photo of themselves and request a generated preview. They can save the result and bring it to a consultation.
That handoff is important to explain beside the link. “Preview this look with WigTryAI” is clearer than a button that unexpectedly sends someone to another website. Keep your own Book a consultation link visible on the original gallery page. The try-on link does not automatically make a booking or return the visitor to your booking system.
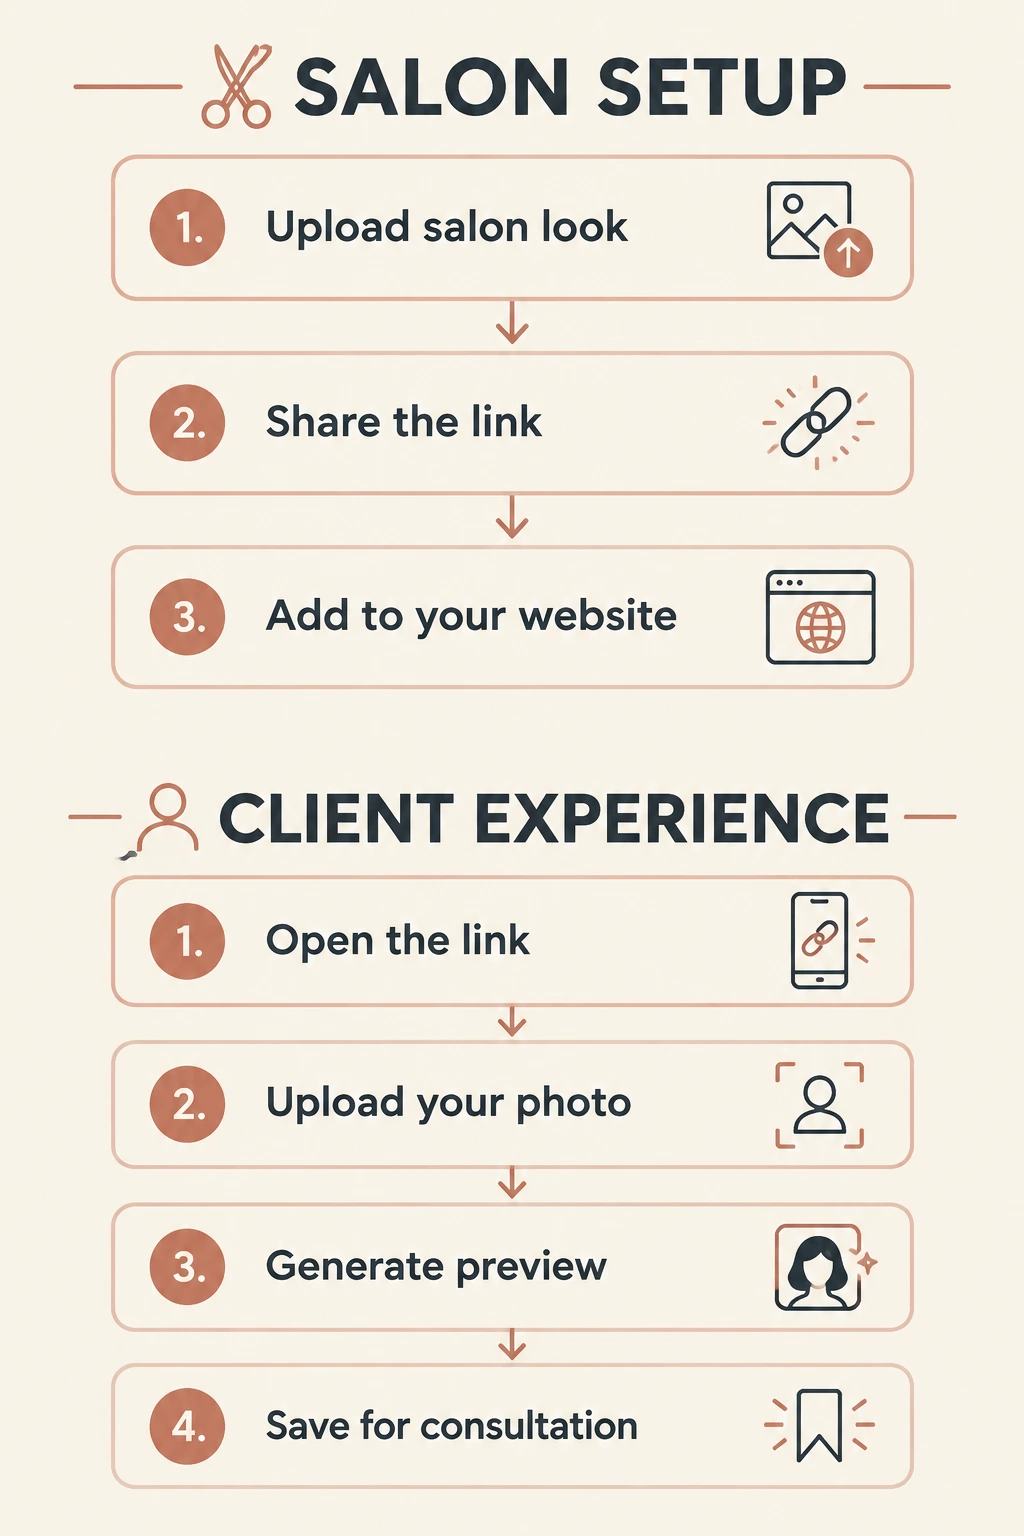
The two sides of the process are:
- Salon: upload the reference, share the link, add it to the website.
- Client: open the link, upload a personal photo, generate a preview, save it for consultation.
A preview is an illustration of a possible direction. It does not confirm that a haircut or color service will produce the same result on the client's natural hair.
Create Your First Link in WigTryAI
1. Choose a Reference You Can Explain
Pick a photo that belongs in your salon gallery and that you have permission to use for this purpose. The hair should be visible from the hairline to the ends, with enough detail to understand the parting and shape. A single portrait is easier to interpret than a collage with three angles and a large caption across the fringe.
For this walkthrough, imagine a curly bob your clients regularly ask about. Give it a descriptive label on your website, such as “Soft curly bob.” Save the exact source image you upload so another team member can later check which reference belongs to the link.
Use your own work or another reference you have permission to reuse. A hairstyle image being visible on social media does not establish permission to republish it in your gallery.
2. Upload the Hairstyle Reference
Open the virtual hairstyle try-on tool and choose its reference-image option. Upload your selected hairstyle photo. Check that the preview panel shows the intended reference, rather than a preset look you happened to select earlier.
For this step, the image is the hairstyle you want people to explore. It is separate from the personal photo a client will upload later. You do not need to collect every client's photo yourself to give them the link.
3. Use the Share Button
Select Share, the button whose accessible label is Share this look. WigTryAI prepares a link for the selected reference. On a browser that supports system sharing, a share panel opens; choose its copy-link option if available. Otherwise, WigTryAI copies the link to the clipboard and displays “Link copied.” If clipboard access fails, it shows a copy prompt.
The resulting address uses this shape: /virtual-hairstyle-try-on?s=YOUR_REFERENCE_CODE. The code identifies the shared hairstyle. Copy the actual URL returned by the tool; do not invent a code or reuse the address of a different reference.
If you cancel a system share panel, that is not a completed copy action. Open Share again and choose where to send or copy the link.
4. Add It to Your Gallery
In your website editor, open the page containing that hairstyle. Add a text link or button immediately below the image, paste the complete copied URL into its destination field, and label it See this hairstyle on you.
Use the same placement for each look you add later. Clients should not have to guess whether a button belongs to the curly bob above it or the long layers below it. Keep the photo, name, preview link, and consultation link together as one small group.
If your editor accepts HTML, this is the equivalent structure. Replace the placeholder URL with your copied link before publishing:
<a href="COPIED_LINK">
  See this hairstyle on you
</a>
The placeholder is deliberately not a working demo address. Website editors usually let you add the same link through a button's settings without touching HTML. If you choose “open in new tab,” label the destination clearly and test the behavior on a phone too.
5. Check the Link as a Client
Open your gallery in a fresh browser tab, click the new link, and confirm that the correct hairstyle is selected. Compare it with the source image you saved in step one. Check the link on a phone, where most of the button text should remain visible without awkward wrapping.
Then use your own photo to try the client experience, subject to the tool's displayed generation and credit requirements. Do not promise visitors unlimited free previews. Keep an ordinary consultation route available for someone who does not want to upload a photo or cannot complete a preview.
See What the Three Images Mean
The example below uses an existing WigTryAI product generation. The source portrait and hairstyle reference are demonstration assets, not a salon customer case study. The result was produced through the project's try-on pipeline using those two inputs.