
Pixie Cut Try-On
Upload one clear portrait and see how a classic, textured or long pixie sits on your own face — where the fringe line falls, how much ear and jaw stays visible, and how short the back reads.
First 3 try-ons free · No app required · Original selfie deleted within 24h
Choose look
Hairstyle
Hair length
Choose color
Selected lookPixie CutShort · Dark Brown
Quick answer
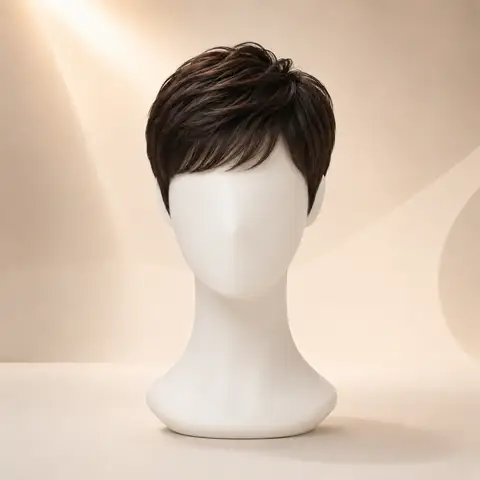
This pixie cut try-on previews three pixie directions on one uploaded portrait: a classic pixie cut close to the head, a textured pixie with choppy piecey movement at the crown, and a long pixie with longer front pieces that reach the cheekbone while the back stays short. The tool opens on the classic pixie and each direction can be swapped while the photo stays the same. A preview shows the visible outline — fringe line, exposed ear and jaw, nape — and it cannot predict your density, growth pattern, cowlicks or how a stylist will cut your hair.
How it works
How it works: step-by-step virtual try-on
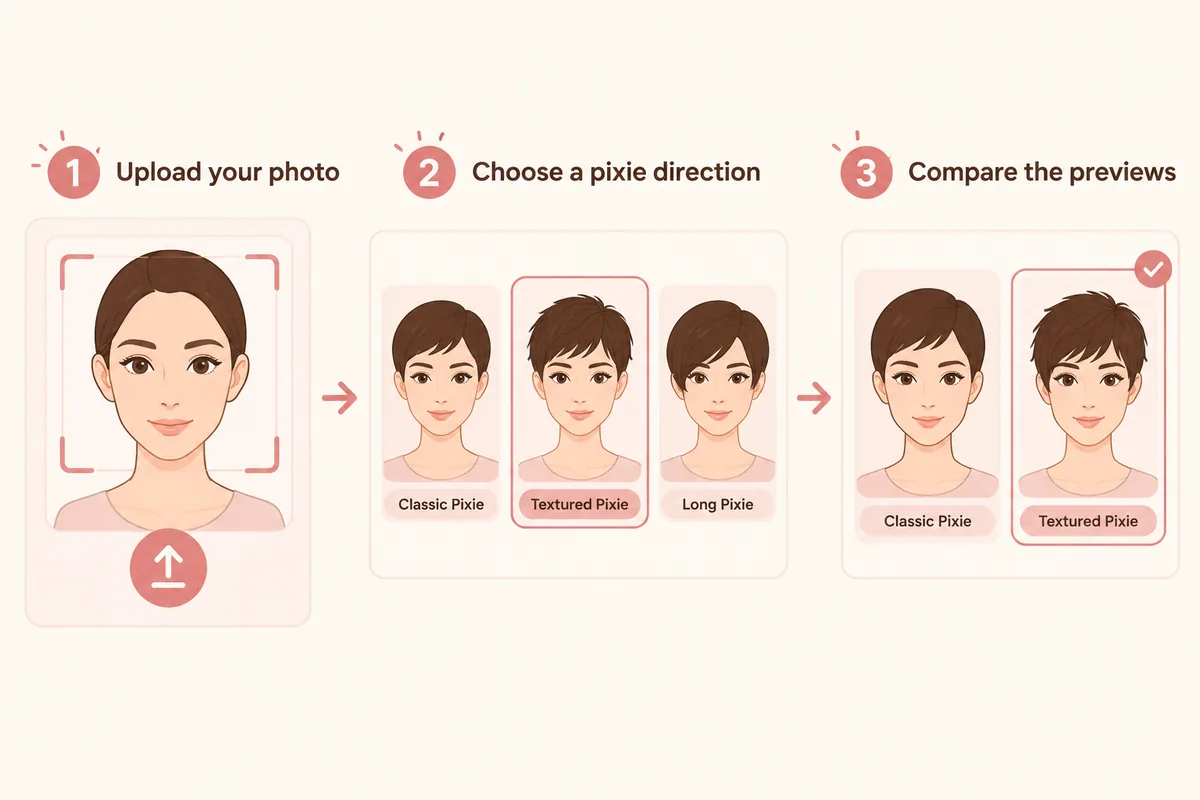
Keep the direction, selfie, and comparison method consistent so each preview answers one clear question.
- 01
Upload your photo
Use a front-facing portrait that keeps the hairline, ears, jaw and neck visible. A pixie shows all four, so a tight crop hides what you are comparing.
- 02
Choose a pixie direction
Start from the classic pixie the tool opens on, then switch to textured or long pixie without changing the photo.
- 03
Compare the previews
Read the fringe line, how much ear and jaw stays exposed, and how short the nape looks before you decide.
Comparison factors
Which pixie should you try first?
Compare the visible direction first, then judge detail. These factors make a virtual try-on easier to interpret.
How much ear, jaw and nape stays exposed
Smooth outline versus choppy crown texture
Front-to-back balance in a long pixie
How the color reads against your skin tone
Comparison guide
How to compare results on the same photo
Keep one clear selfie, the same lighting, and a stable hairstyle or color direction. Change one variable at a time so each virtual try-on result is easier to compare and trust.
01
What a pixie actually changes on your face
A pixie is the shortest change here, and it alters more than length: it exposes the ears, the jawline and the nape, and it moves the visual weight of your hair up to the crown. That is why the same pixie can look tidy on one face and severe on another — the difference is how much of the face and neck stays uncovered, not the style name.
Three things decide that: where the fringe line falls, how long the top and front pieces are, and how short the back and sides go. Compare those three points on your own photo before you decide which direction you want to ask for.
- Fringe line — A short fringe sits above the brows; longer side pieces reach the cheekbone and soften the frame.
- Ear and jaw exposure — The shorter the sides, the more ear and jawline shows — the strongest visual change of any cut here.
- Nape and back — A tapered back keeps the neck open; leaving the back slightly longer makes grow-out easier.
02
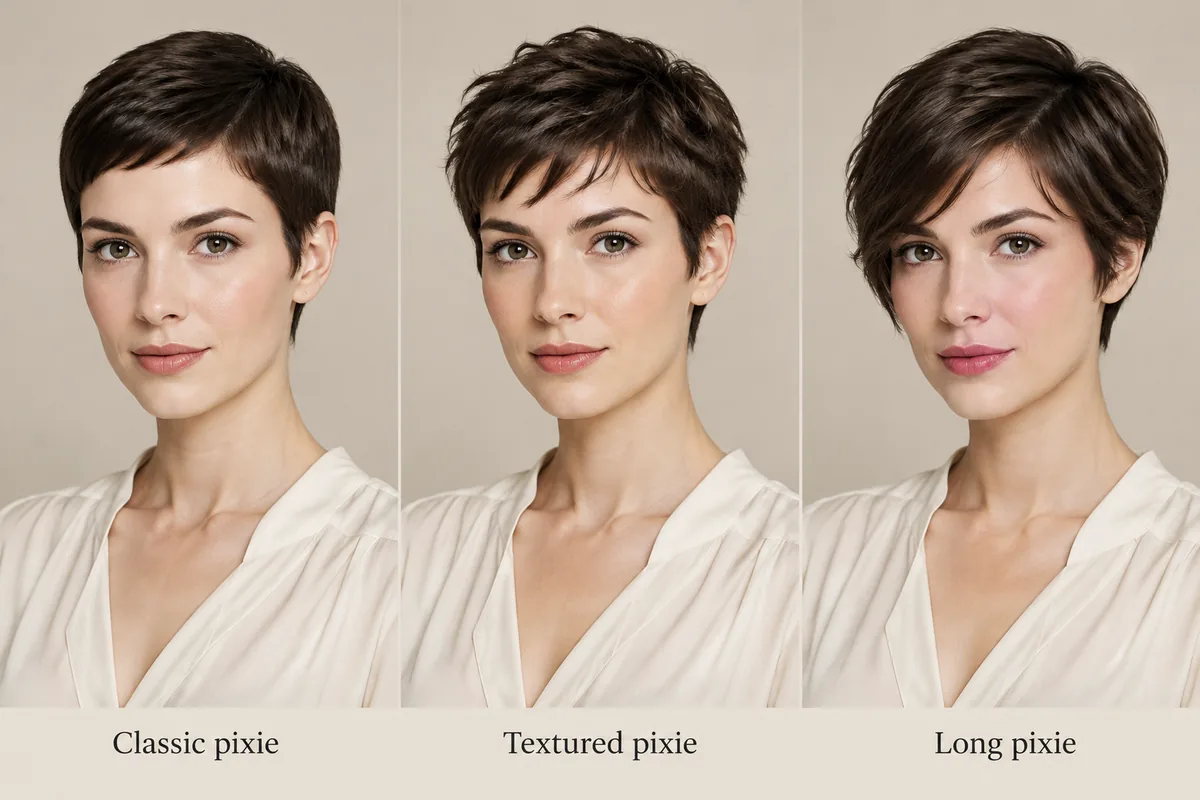
Classic, textured or long pixie: what actually differs
The three directions are not three lengths of one cut. A classic pixie is cut close to the head with a smooth outline, so the ears and jaw are fully exposed and the shape reads graphic. A textured pixie keeps a similar length but cuts choppy pieces through the crown, which softens the outline and adds movement when the hair is styled.
A long pixie is the version to compare when you want the shortest commitment: the back and sides stay short while the top and front pieces grow longer and can be swept to one side or pushed forward. Compare all three on the same photo and watch where the fringe line lands and how much of the ear stays covered.
03
How to ask your stylist for a pixie cut
Bring the preview you liked and name four things: how short the sides should go, where the fringe line should sit, how much texture you want through the crown, and whether the back should be tapered or left slightly longer. Those four answers describe the cut; the word pixie on its own does not.
Say the limits out loud too. A preview cannot show your density, your hair's growth direction, cowlicks at the crown, or how the cut will sit after washing without styling. It is a shared reference for the direction — the cut still gets adjusted to your own hair.
Style categories
Try different hairstyle families
Not sure where to start? Explore a few popular hairstyle directions below, then try your favorites on your own photo.
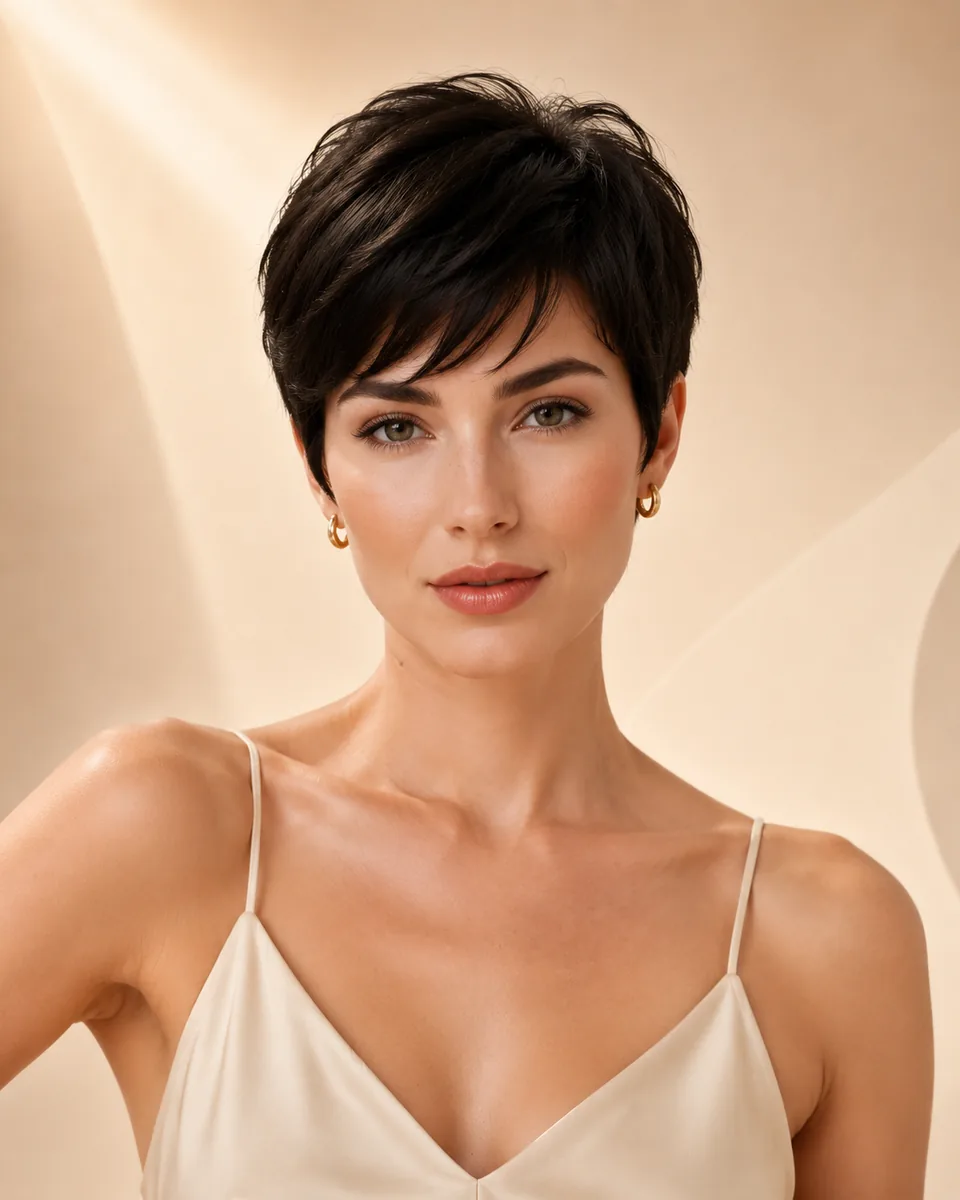
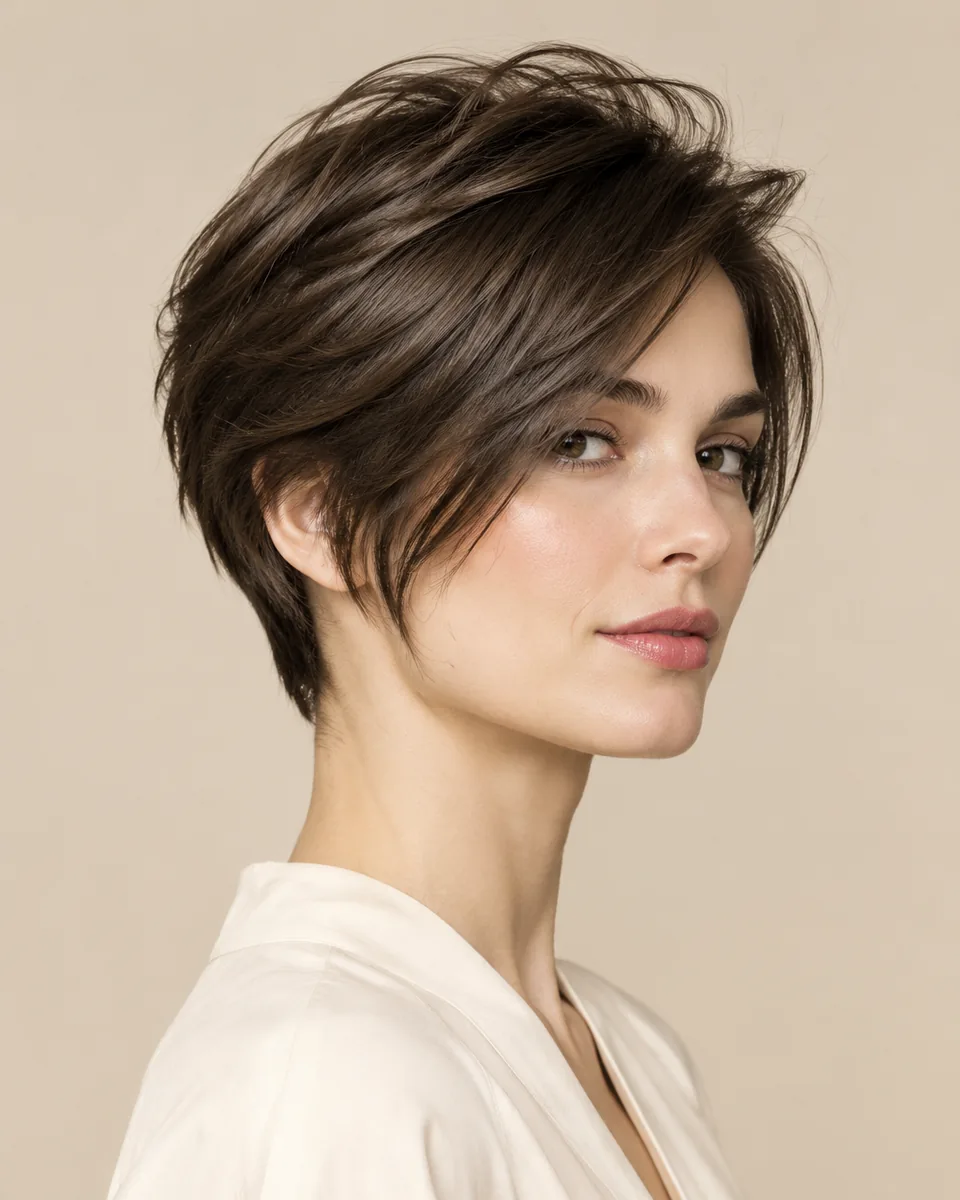
Color options
Change shape and color together
Compare color after choosing a silhouette so contrast, warmth, and dimension stay easy to judge on the same photo.
Black
Preview soft black or natural black hair directions.
Try this colorBrown
Compare dark brown, chocolate, chestnut, and warm brown ideas.
Try this colorBlonde
Try honey blonde, golden blonde, beige blonde, or platinum tones.
Try this colorBurgundy
Explore a richer red-purple shade without changing your real hair.
Try this colorOmbre
Preview darker roots fading into lighter ends.
Try this colorWhy use this tool
Built for fast visual exploration
Start with a clear portrait, compare one variable at a time, and use the result as a visual reference for your next style decision.
Preview before the chop
Compare three pixie lengths
No app required
Style inspiration only
Privacy note
Preview tool, not a store
WigTryAI is built for personal visualization and style inspiration. It does not sell physical wigs, beauty products, or salon services, and it does not provide commerce matching. Your generated look is meant for exploration, comparison, and optional friend feedback.
Preview limits
What a pixie preview can and cannot show
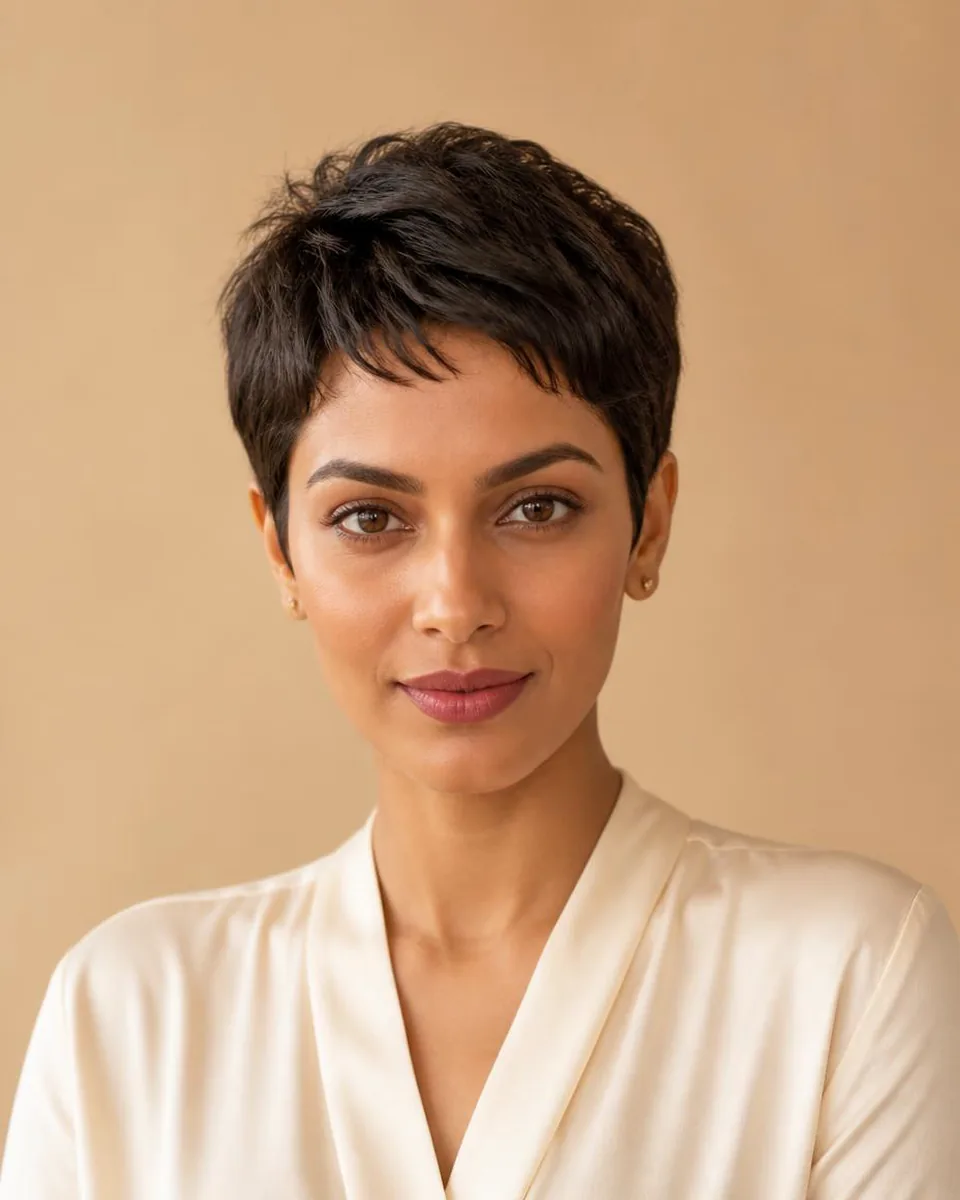
The card portraits and comparison figures on this page are editorial reference illustrations produced for WigTryAI; they are examples of the direction, not outputs from a real try-on, and they are not photos of customer results. The preview compares the visible shape. It is a direction to discuss with a stylist, not a prediction of how your hair will behave.
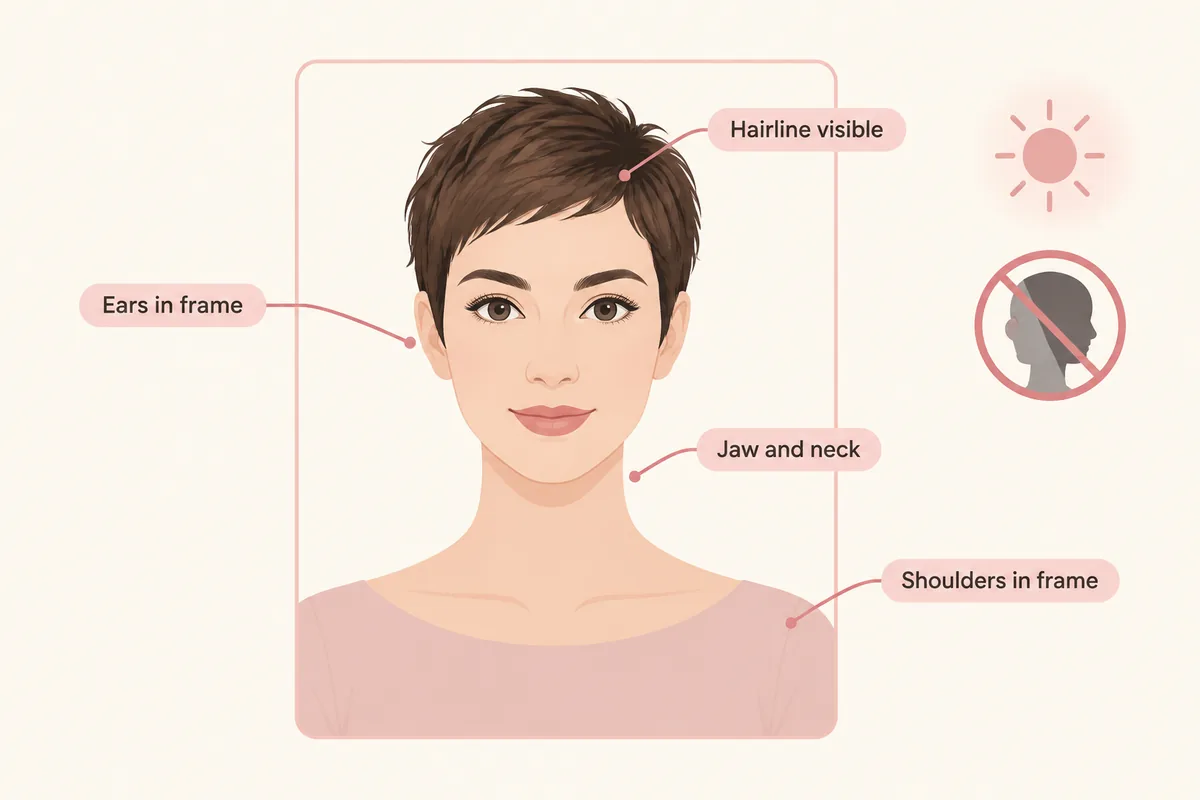
Useful for comparing
- ✓where the fringe line falls above the brows or at the cheekbone
- ✓how much of the ear, jawline and neck stays exposed
- ✓the difference between a smooth outline and choppy texture
- ✓how a long pixie changes the balance between front and back
- ✓the color impression of the cut against your skin tone
Does not predict
- —your real density, growth direction and cowlicks
- —how the crown will sit without styling
- —how fast the cut grows out between trims
- —how a stylist will interpret the reference on your hair
- —styling time, product use and trim frequency
Photo setup
How to take a selfie for a virtual try-on
A clean, consistent portrait keeps the hairstyle or color direction as the main variable you are judging.
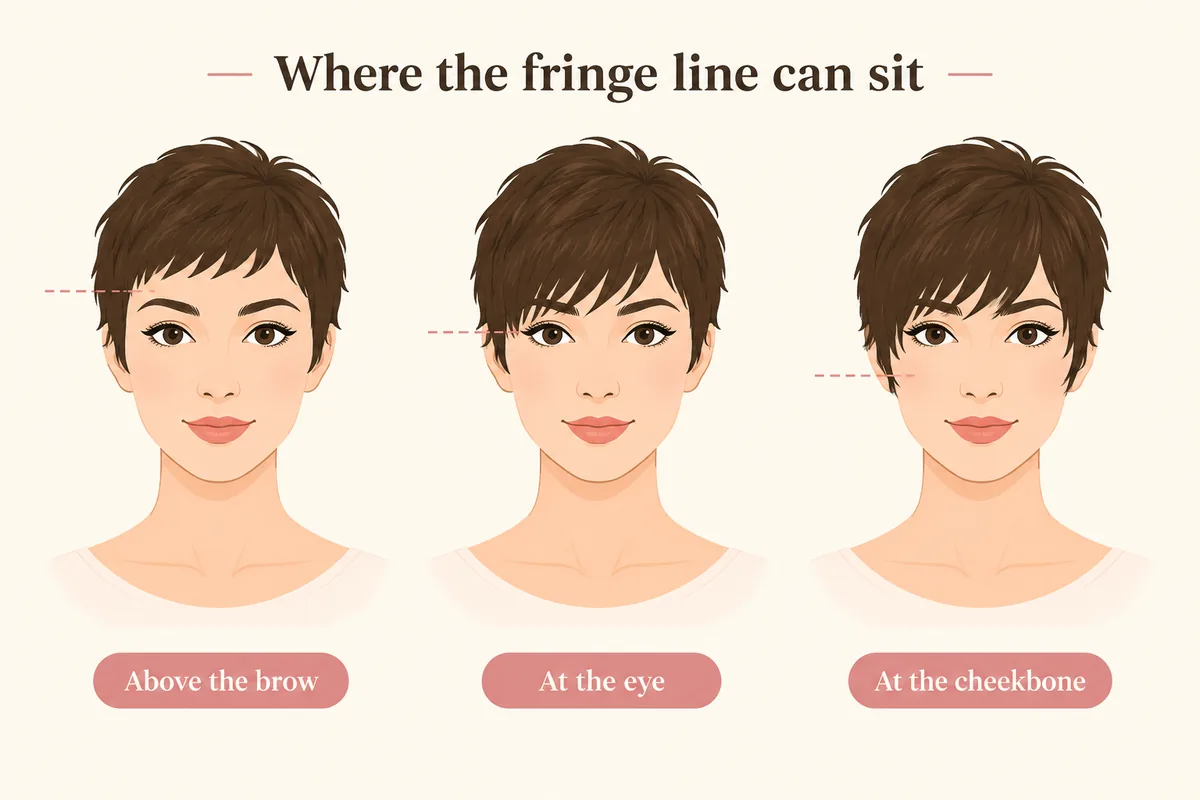
Face forward
keep your face centered and your eyes visible so both sides can be compared consistently.
Use soft, even lighting
avoid strong colored light and side shadows, especially when comparing blonde, gray, silver, or dimensional color.
Keep the hairline visible
move hats, sunglasses, hands, and heavy filters away from the forehead, ears, and hairline.
Keep the angle simple
avoid a strong tilt or mirror distortion so length, volume, and symmetry remain easier to judge.
Related tools and guides
Continue with the resource that matches your next decision
Move to a related tool or guide when your next question is about color, wigs, face shape, or comparison.

FAQ
Frequently asked questions
Can I try a pixie cut on my own photo?
Yes. Upload one front-facing portrait and the tool previews a classic pixie first, then lets you switch to a textured or long pixie while the photo stays the same. The first three try-ons are free and the original selfie is deleted within 24 hours.
How do I know if a pixie cut would suit me?
Compare the parts of the cut that change your face rather than guessing from the style name: where the fringe line falls, how much ear and jaw stays exposed, and how short the back goes. Preview two or three directions on your own photo and judge the outline you prefer.
What is the difference between a classic, textured and long pixie?
A classic pixie is cut close to the head with a smooth outline, a textured pixie keeps a similar length but adds choppy piecey movement at the crown, and a long pixie keeps the back and sides short while the top and front pieces grow longer and reach the cheekbone.
Does a pixie cut work if my hair is fine or thick?
The preview shows the shape, not your density. Fine hair usually reads closer to the head and shows the scalp more at the crown, while thick hair holds a rounder outline and can look bulkier without texturing. Ask your stylist how your own density changes the same cut.
Can I see a pixie with bangs before I decide?
Yes. A long pixie keeps longer front pieces that can be swept or worn forward, and the classic and textured directions show a shorter fringe line. Compare both on the same photo before choosing how heavy you want the front to be.
How often does a pixie need trimming?
The preview shows the visible cut, not the upkeep. A classic pixie usually needs the most frequent trims to keep the outline sharp, a textured pixie is slightly more forgiving, and a long pixie grows out with the least visible awkwardness around the ears and nape.